

Our Garden Planter Makeover

When we purchased our house, one of the things I was most excited about was being able to start my own garden. I’m definitely not an expert gardener, but my Mom always had a little planter growing up with tomatoes and strawberries, and I wanted to do the same.
The first summer in our house I had a few herbs in pots and was only partially successful at keeping them alive. The next spring, after doing a ton of research on container gardens, we decided to build ourselves a giant wood planter box at the back of our yard. It was 4ft x 10ft. long, and I filled it to the brim with everything I possibly could! It ended up being way more than I could successfully take care of with a busy work schedule, not to mention, I soon realized that I’d rather be out with friends on weekends than always tending to the garden. I also learned just how large certain plants can get if you plant them in a bed brimming with good nutrients from a mixture of compost and horse manure.


The largest cherry tomato plant I pulled out of my garden in the fall of 2016
It’s been a couple of years now, and through trial and error, I’ve learned what I like to plant in my garden, how to better take care of my plants, and what I’m actually capable of caring for. Mainly I’ve paired down to what I call a salsa and pickle garden, with a mixture of tomatoes, peppers, cucumbers, and herbs.
Related Article: How to Make Your Own Pickles

Every spring we get the garden ready by tilling the soil and adding in a new layer of rich compost from our tumbler that we add to all winter. I usually attend the Friends Plant Sale and stockpile all of the plants and herbs I want, and get to planting! This year, however, things were different on many fronts - hello global pandemic! Hello, snowy spring! Hello, rotten planter! So we needed to make some changes!


Our garden, 2019 - The boards were already starting to rot
While I really do enjoy gardening, it’s always been a low-stakes commitment for me. Something that I could casually tend to but if something more interesting was happening, or if the squirrels made off with most of the crops, I could shrug it off and move on. This spring however, with an unforeseen shut-down that has lasted longer than anyone could’ve predicted, I knew the garden would become my sanctuary.
Our wood planter didn’t last nearly as long as we had hoped. Maybe the wood wasn’t actually treated like it claimed to be, or maybe the harsh winters in Minnesota took its toll, but either way, the wood stakes holding everything together were completely rotten. We originally thought we would replace our one large wood planter by doing 2 smaller planters and fire treating them shou sugi ban style to help make them last, but after tallying up how much that would actually cost, we decided to go another route.

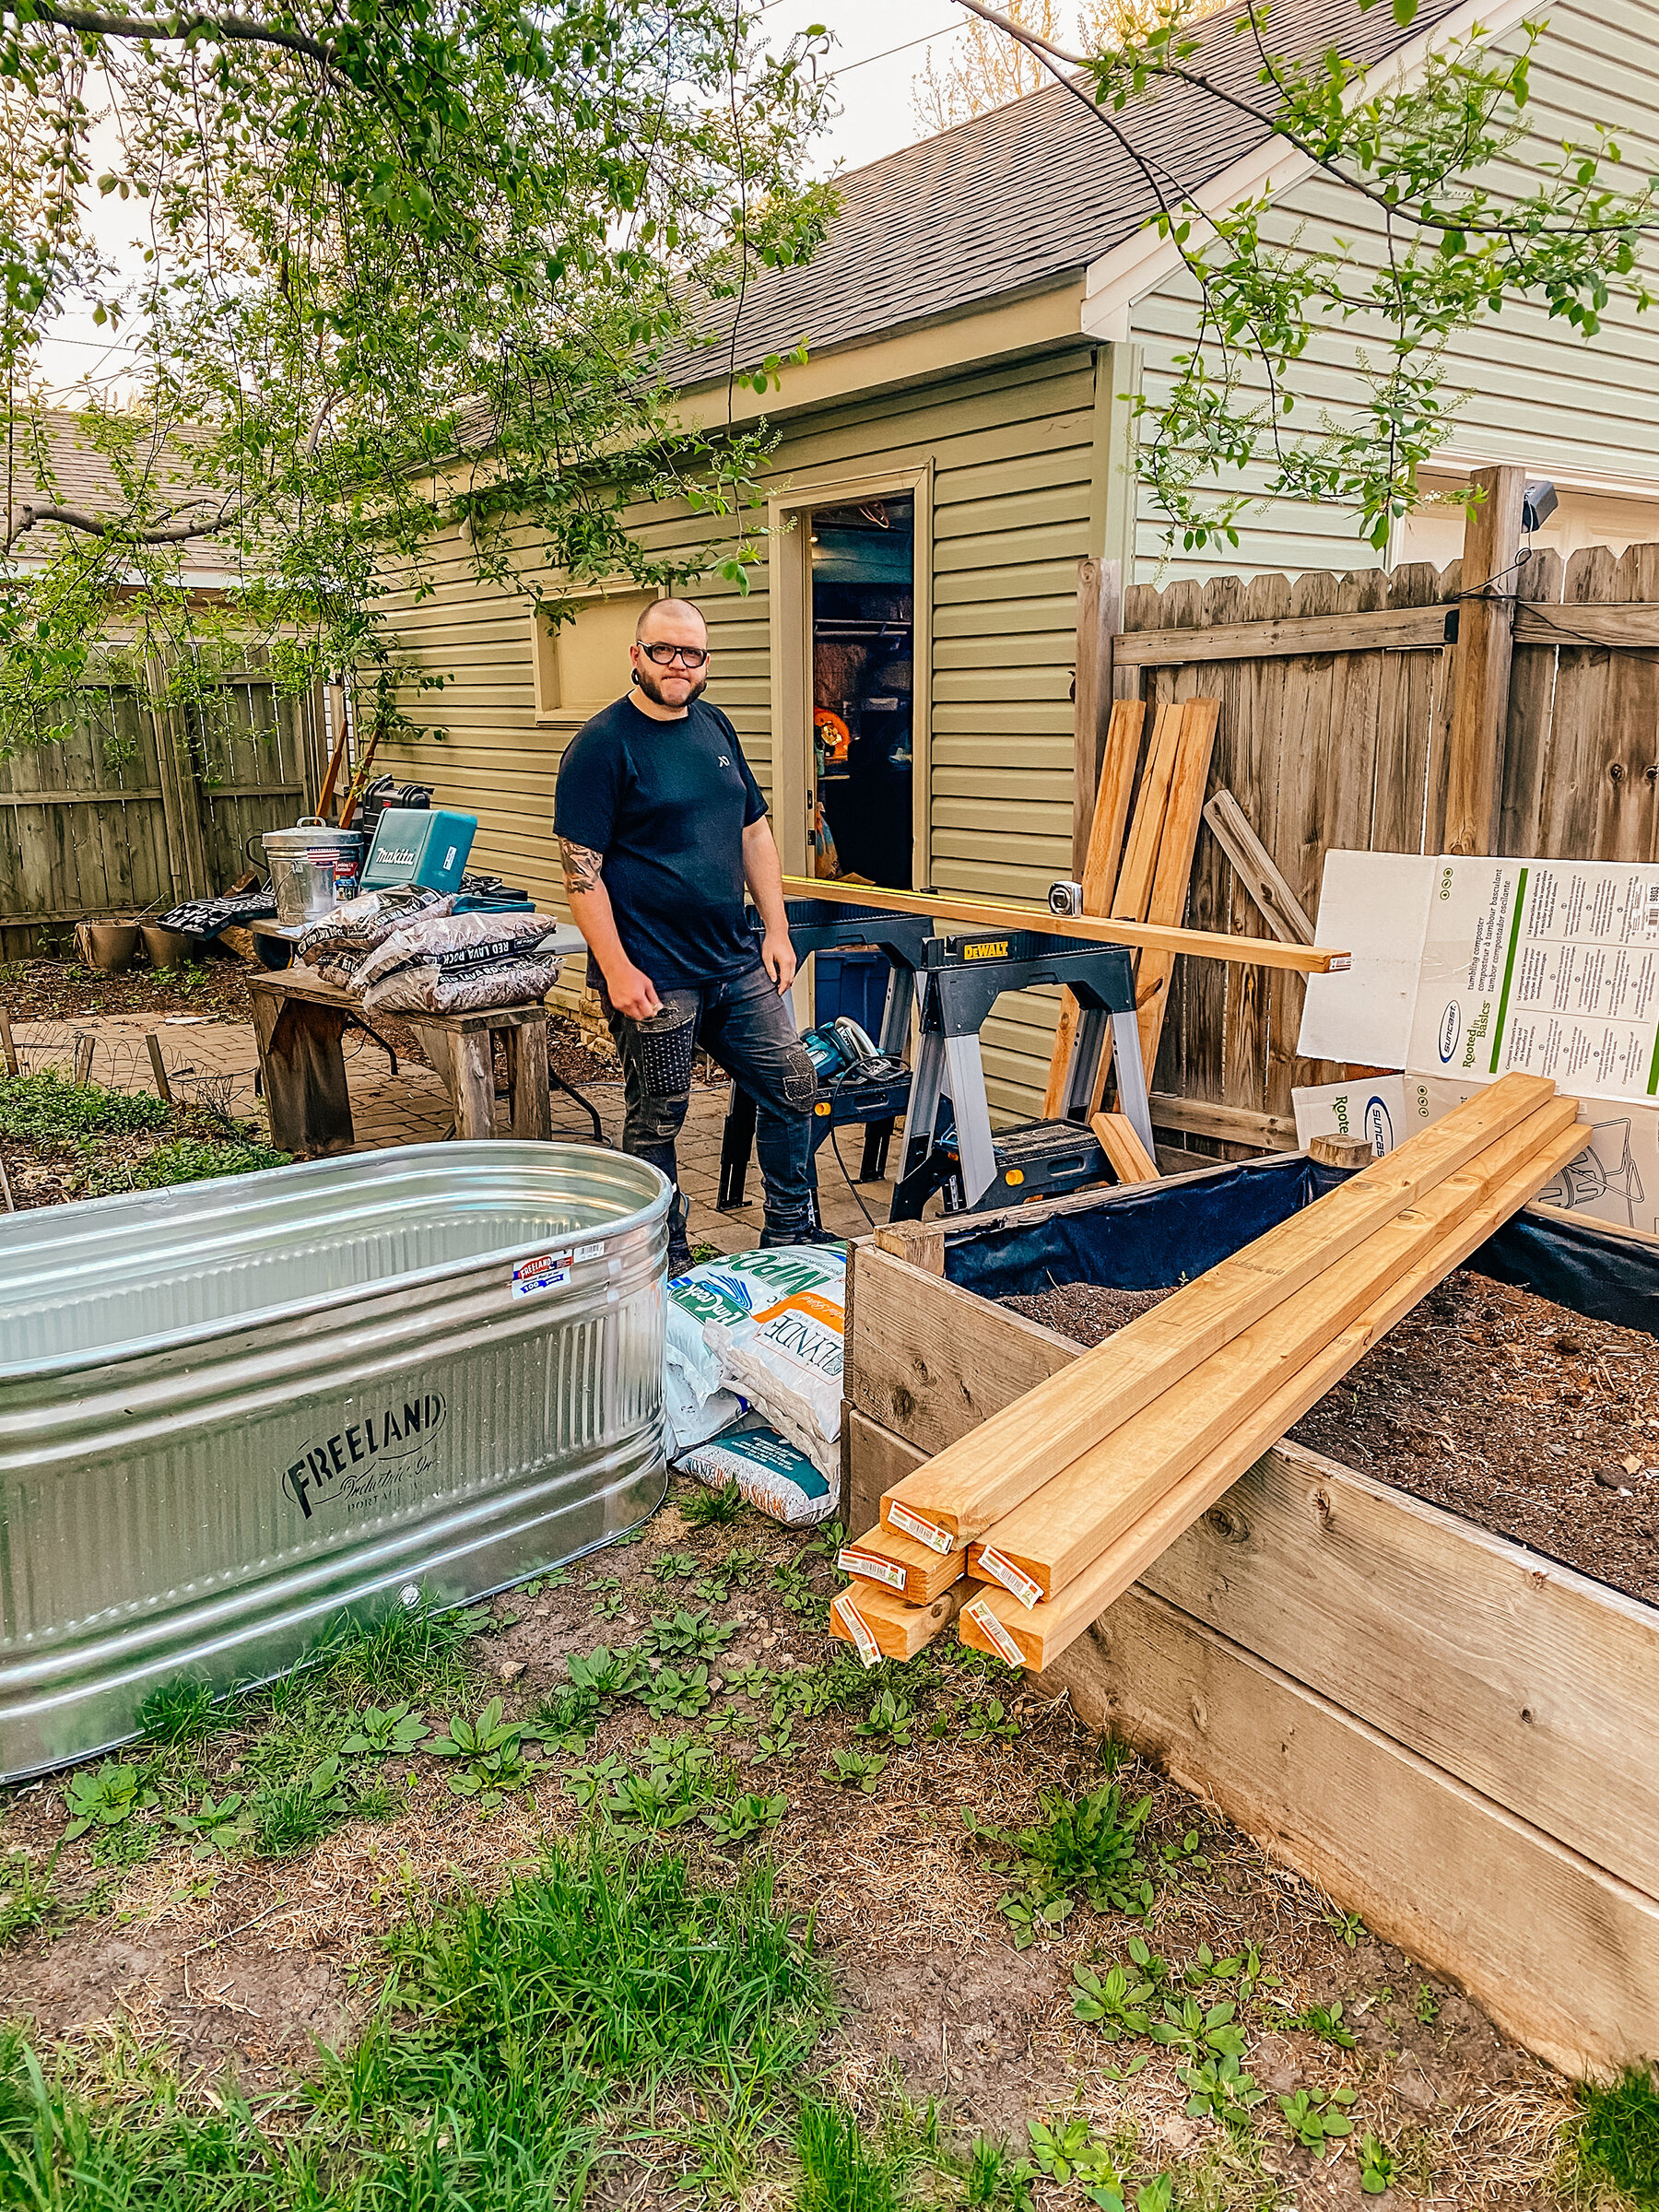
Instead of wood, we went with pre-made, galvanized metal horse troughs that we purchased from Fleet Farm. These troughs are built to hold water and to last (outside) for up to 10 years. With some minor alterations, they make the perfect planter boxes!
We laid out large tarps on the ground so we could move the dirt and tear down the old planter while we waited for our troughs to get to the store. Once we got the troughs, we got straight to work!


How to Turn Horse Troughs into Planters:
Horse troughs come in a variety of sizes, so first things first, you want to pick the size that’s right for you. We decided to keep our garden in the same spot as the old wood planter, and had enough space for three 2 ft. x 5 ft. troughs.
The biggest concern with any planter regardless of size is drainage. If your plants don’t have proper drainage, they can develop root-rot and die. As the troughs are meant to hold water, you need to drill holes and prop them up so they can properly drain.


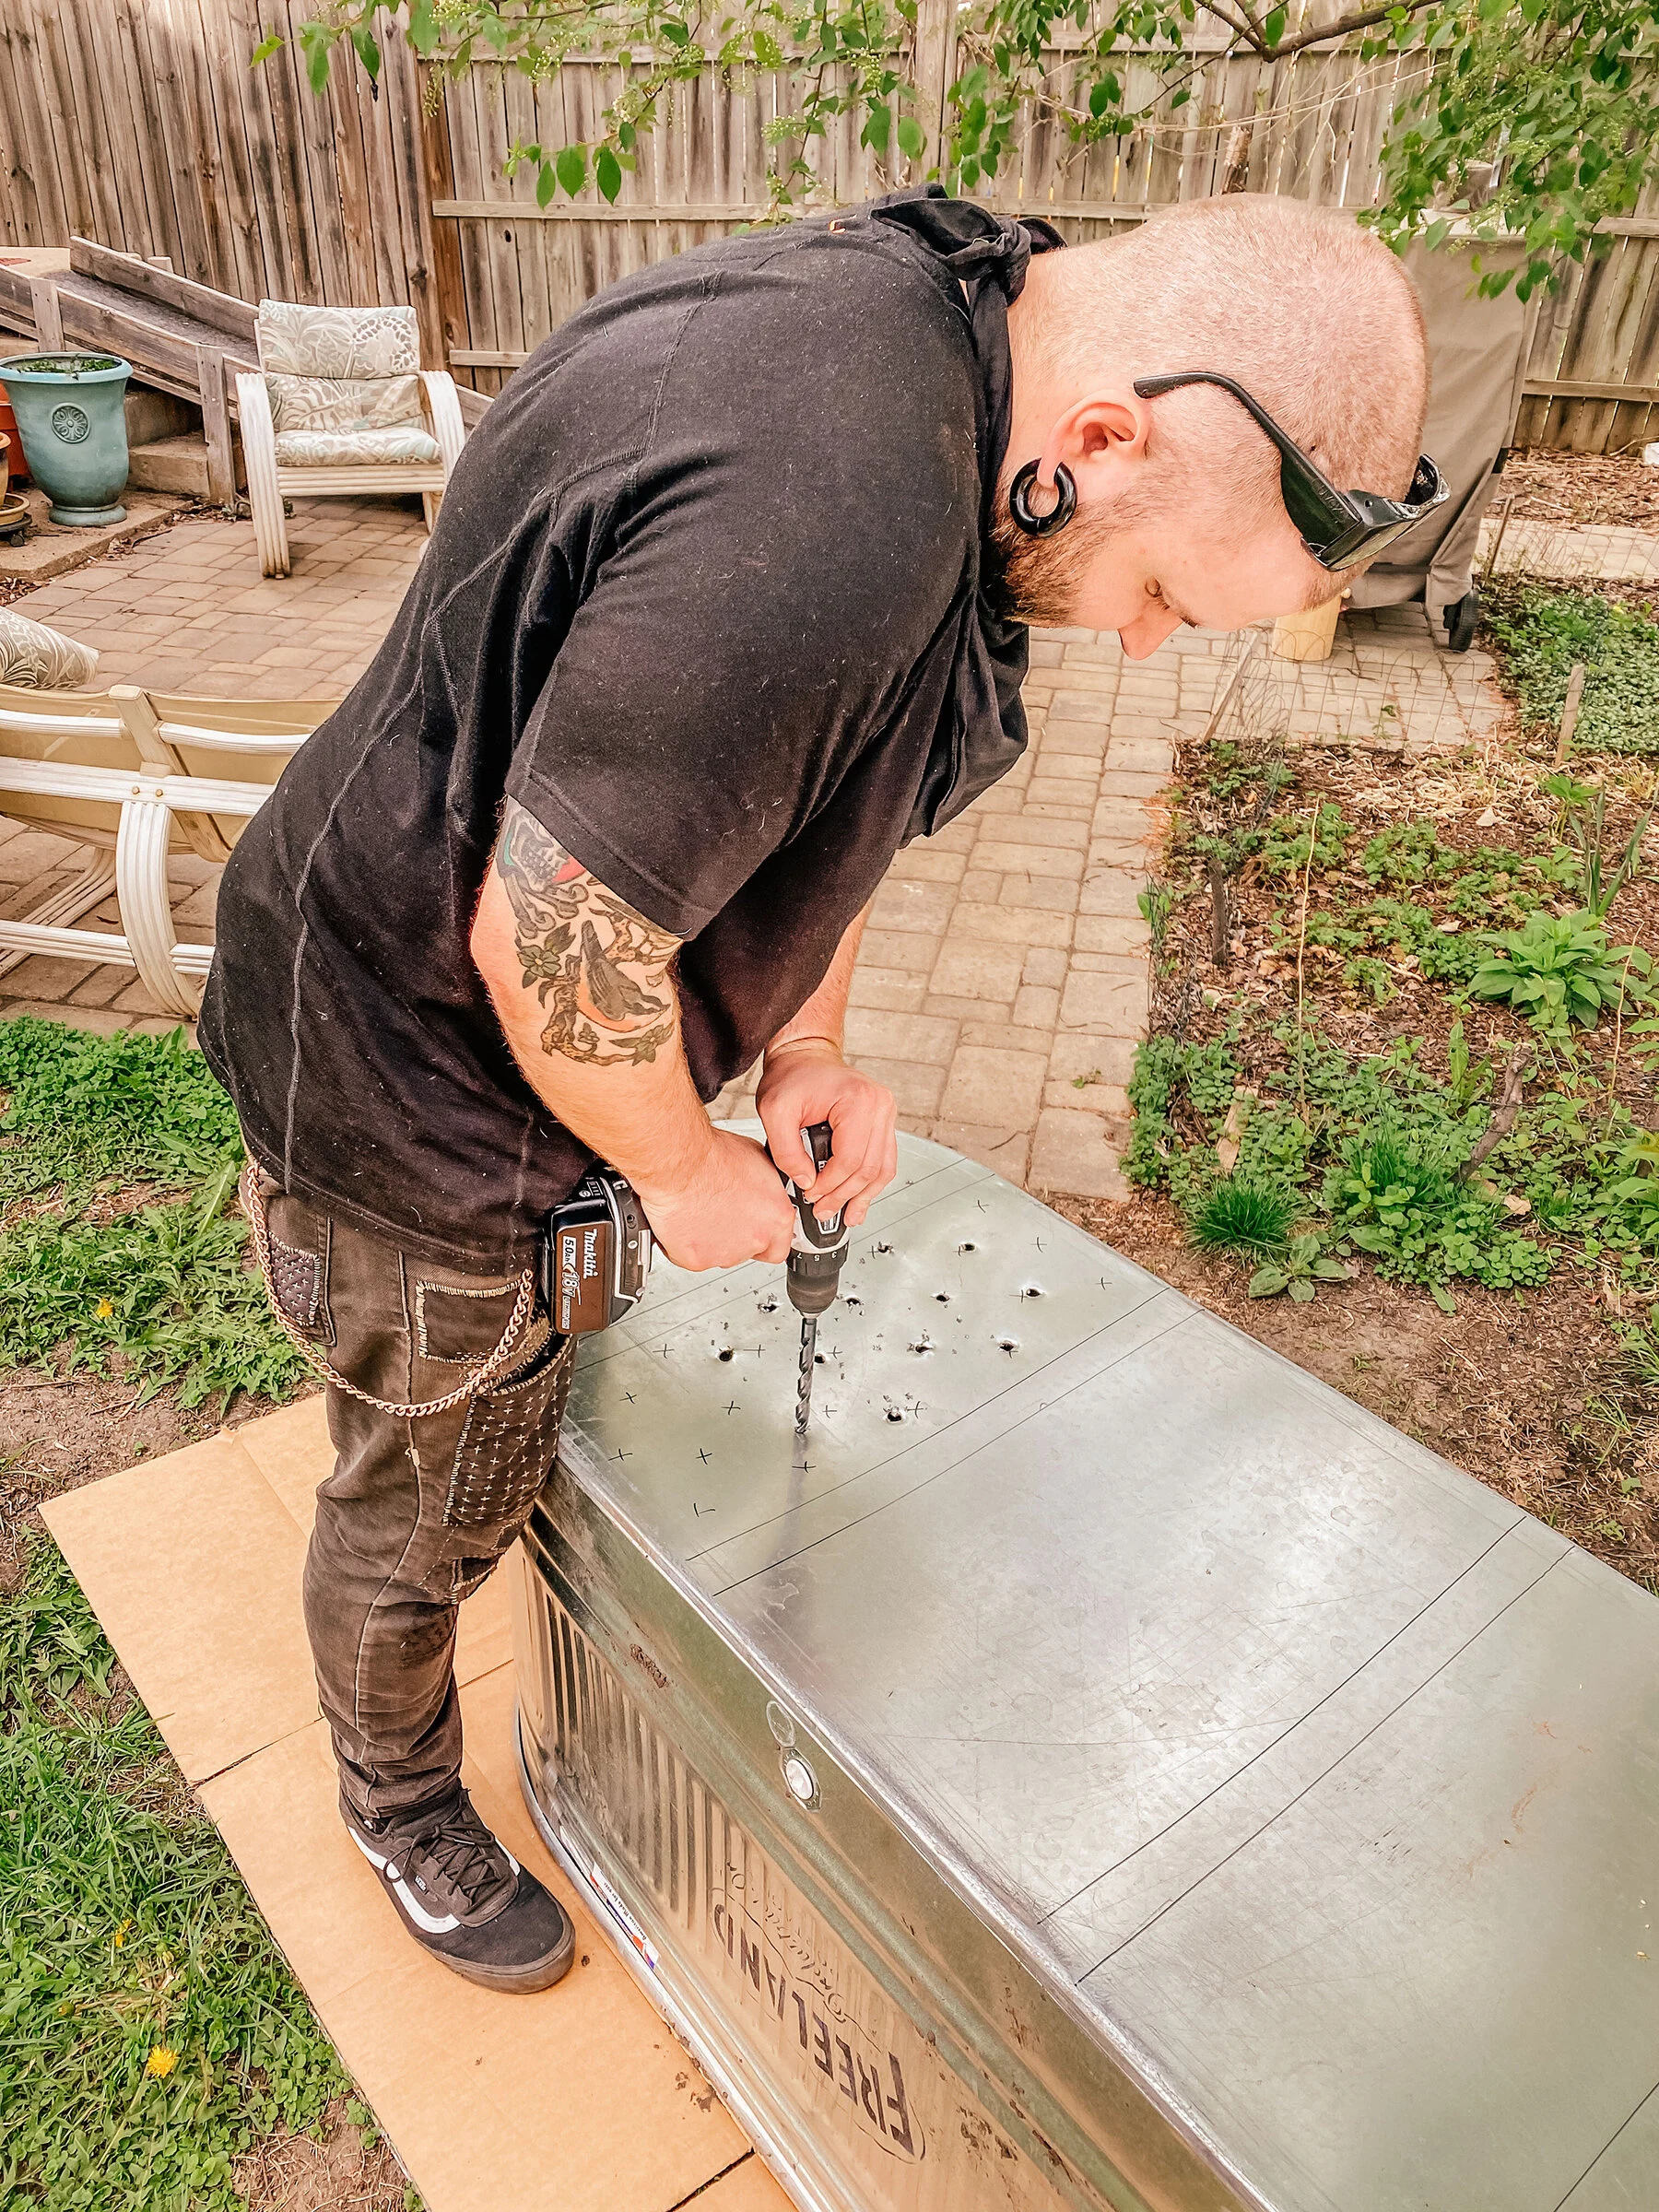
To drill the holes, you’ll need a drill and a drill bit that is strong enough to go through metal. Also, note that the metal shards that come out are extremely sharp! We drilled over a piece of cardboard so we could easily gather the shards and throw them away.
We built wood frames that are sturdy enough to hold the weight of the troughs full of dirt, and unfortunately ran into a bit of a pickle doing so. You know that old adage, measure twice, cut once? Yeah, turns out that just because you ordered three of the same size trough, they aren’t all exactly the same size.. Ha!
Once the frames were built, (you could also use a wood pallet or cinder blocks) we labeled each frame to each trough so we wouldn’t get anything mixed up. Then, we placed the empty troughs where we wanted them to be and made sure they were all evenly spaced, and easy to access.
The face you make when you cut wood to the wrong size.. lol


Now that the troughs were in place, we filled the bottom of each with roughly 6 inches of lava rocks, and covered that with a layer of fine mesh. The troughs have a built-in drainage port (like most coolers have) so essentially, we just made sure the dirt would sit above that port and not fall out over time.

With the troughs sturdily supported and altered to have proper drainage, they were ready to be filled with soil and plants! We finished off the entire bed with an extra layer of lava rocks to complete the look.
The entire project of tearing down our old planter, moving the dirt and making the new planters only took us a couple of days, but if you are starting from scratch and already had all of the supplies, you could easily accomplish these planters in an afternoon!

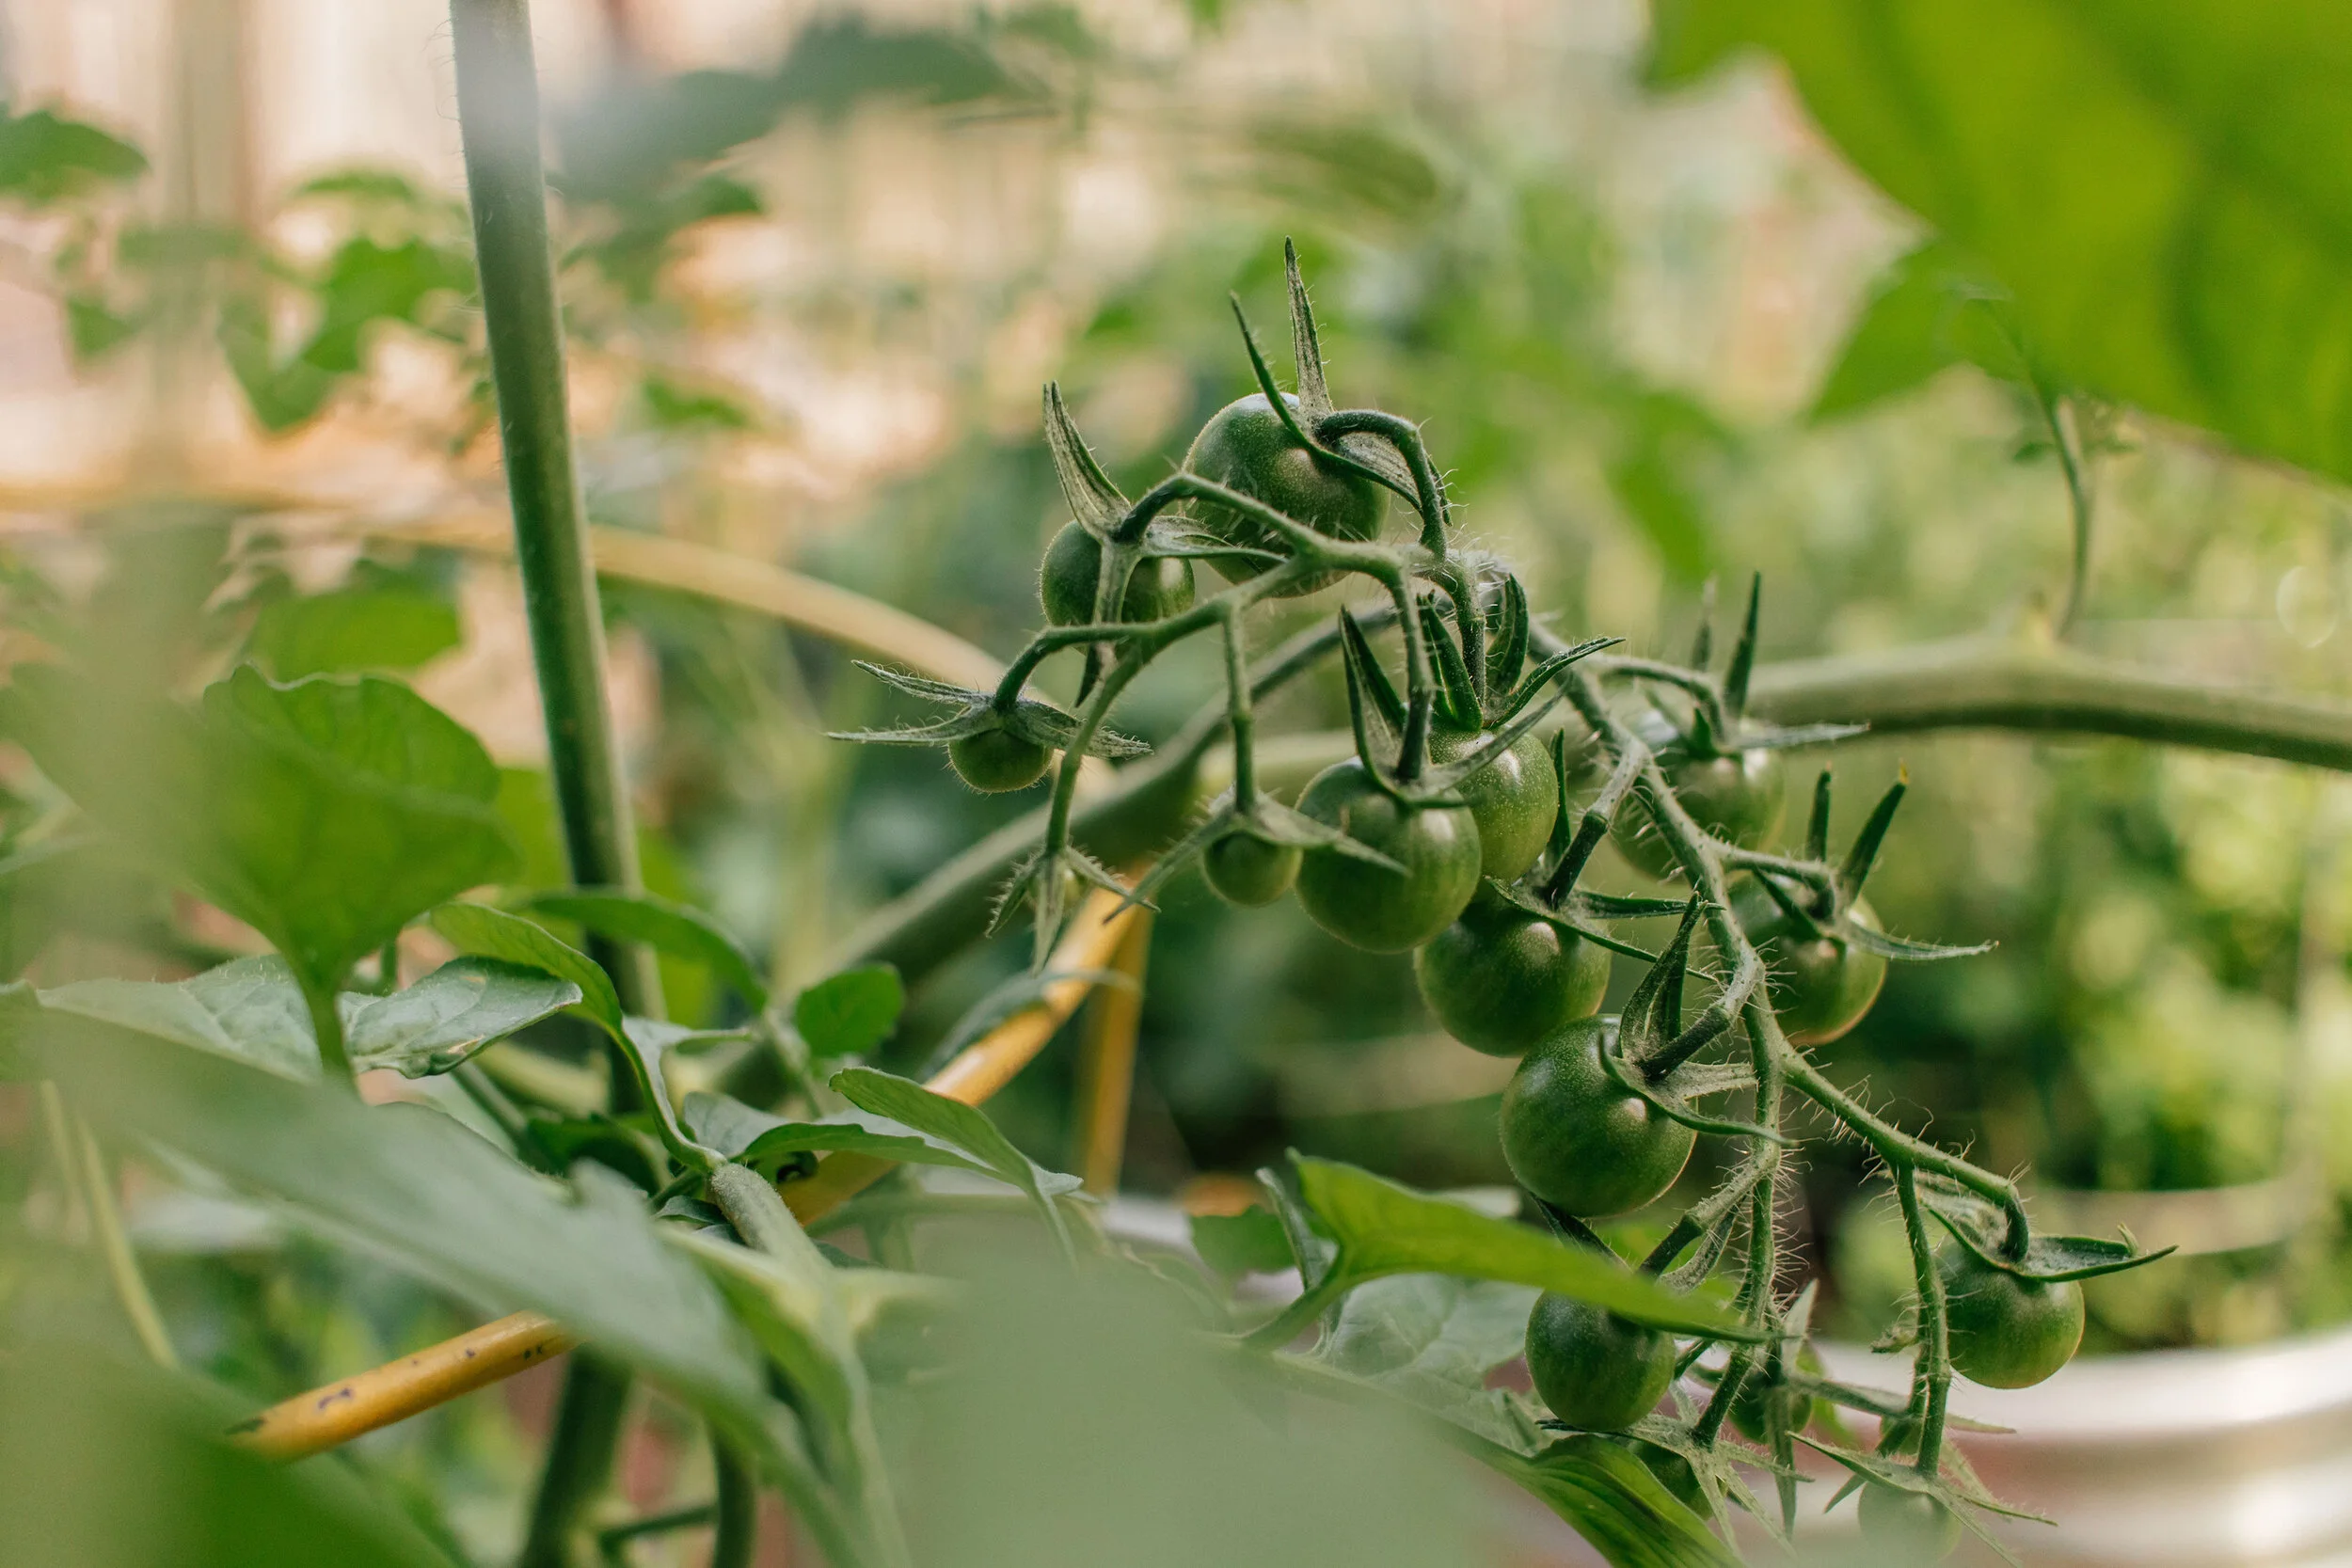
It’s been a couple of months since we planted our garden for the season, and it’s become one of my greatest joys during the pandemic. I like coming back day after day for the simple miracle of seeing food grow from the ground. When the days feel heavy and the news streams are overwhelming, having the mindless task of pulling weeds and pruning herbs has been an immeasurable help to my mental health!


Soon, if all goes well, we’ll be making salsa and pickles from the literal fruits of our labor. Until then, I’ll be spending my days tending to my plants and looking forward to the end of the pandemic.


