How I Take Photos of Myself When Exploring Solo
When I first decided to start my travel & lifestyle blog, I knew that the biggest hurdle I would have is getting quality photos of myself that aren’t just selfies.
I would find myself getting so jealous of top influencers who have a team of people to help them and a partner who doubles as their personal photographer, a.k.a their “insta-husband” until I realized I am fully capable of getting amazing photos by myself.
I have an amazingly supportive husband, but the reality is, he’s not my personal paparazi. He’s my partner in life, but this is MY on-going project. It’s a lot to ask of someone to dedicate all of their free time to something they’re not totally interested in, for free, just so that I can get 20 shots of the same thing to knick-pick over anytime we go anywhere. I never want my passion project to be a burden to anyone else, especially not the person I spend the majority of my time with.

And there have been plenty of times where I wanted to go somewhere or attend an event when no one else wanted to. I’m a fairly independent person, and I really value alone time so I’ve learned to be OK doing things solo.
So instead of feeling discouraged or jealous, I found myself doing a ton of research on how best I can photograph myself, and through trial and error, I’ve learned a lot along the way! So if you’re ever in a situation where you want to do some exploring or to want to take photos but don’t have anyone to go with, keep reading! I’ve got some tips that can help.

Balancing my camera on my knee and shooting using a 2 second timer

The final shot
Gear You’ll Need
Camera
First things first, you’ll need a camera. I’m of the personal philosophy that the best camera to have is the camera you have with you. You don’t need to go out and spend thousands of dollars on a high-end DSLR if you’re first starting out. You can get some really amazing photos just using your phone!
Related Article: What’s In My Camera Bag
I interchange between shooting with my Canon 80D and my iphone regularly. There are certain situations where bringing a bulky camera just isn’t feasible, or maybe you’re out somewhere when you weren’t planning to take photos but an opportunity presents itself. I’m betting you’ll never leave your house without your phone, so you always have a little camera on hand.
Shot on iPhone 11 Pro
Remote Shutter Release:
While you may not need a high-end camera to get started, the absolute best thing I’ve purchased is an infared remote shutter I even have one for my phone that came with a crappy selfie stick I picked up years ago. I’ve long since ditched the selfie stick, but I love the shutter release! I always keep it with me. I can’t tell you the number of times I was out somewhere and just propped my phone up on a rock, or up against my purse and used the remote to snap photos.

While yes your phone and digital camera will both have a timer, it can be difficult to set up the focus and run into frame, not to mention, really tiring. The timer on your phone will take photos in burst mode and quickly deplete your storage if you take hundreds of photos all the time like I do.

Photo shot on Iphone using a remote shutter
I’ve also tried using my Canon’s wifi + the canon app to take photos remotely using my phone. I think I’ve successfully done this once… Maybe it’s user error, maybe it’s a wifi issue (especially out in the middle of nowhere,) either way I’ve found it’s just so much easier to have a remote!
I do my best to creatively hide the remote by tucking it into my pocket, hiding it behind my leg, or quickly dropping it into my bag. If you find it’s a little difficult, you can always use both the 10-second self-timer and the remote shutter to give yourself more time.

When you shoot alone, it can sometimes be tricky to make sure everything is in focus, or maybe the shutter is released when you aren’t ready. It happens and it can be frustrating, but I’ve also gotten some really happy accidents that turned out way better than I had planned!


Tripod:
I have a few tripods and to be honest, I’m still on the lookout for a light-weight, full-sized one that can compact down to fit into my day bag.
The biggest issue I have with small tripods is they’re usually not strong enough to hold both my camera body and a bigger lens vertically. I shoot about 90% of my photos vertically for the ‘gram, so it can sometimes be a challenge to ensure my camera will be safe and will stay in place the second I let go.

However, I am relatively happy with my Crazy Legs Tripod because it does fit in my bag, and the legs are adjustable. It does take some finagling to make sure the camera is on there tight, but if you’re patient, you can get some good results.

Crazy Legs Tripod in use, wrapped around a wood board
I will also say that not having a tripod isn’t a deal-breaker. You can still get some really amazing photos without one! Try setting your camera up on a near-by level surface, or propping up against your bag. Just be careful it’s actually secure so you don’t cause any damage from the camera falling down!

In this photo, I set my DSLR on top of my bag and angled the lens up with my coat. I’m positioned slightly down-hill so I could fit my entire body in the frame. The remote shutter is hidden inside my glove.
Editing Apps:
Another piece of essential gear you’ll want to have is a way to edit your photos. That is key for taking your photos from amateur to professional. And thanks to the popularity of instagram, there are dozens of amazing apps you can use that range in price and skill level required.
I’m a professional designer/illustrator for work, so personally I prefer all of the Adobe Creative Suite products. I use Lightroom to edit my photos, and occasionally bring them into Photoshop if they need any serious re-touching.
I like Lightroom for the control you can get, and you can save presets so that all of your photos from a series look the same. Keep in mind, any preset will not be a magic one-step button you can hit and go for all of your photos. You will likely still need to do some tweaking because every photo is different. (Anyone who is trying to sell you a preset and tells you differently is lying)

Photo edited using Lightroom
The mobile app is free to use, but you do need a subscription for your desktop. If you’re using a digital camera, it’s definitely worth having the desktop version. Being able to batch edit in Lightroom saves SO MUCH TIME, so you can get back out to exploring faster instead of editing hundreds of photos one at a time!
However, for editing photos directly on your phone, A Color Story, Snapseed, and VSCO are all really great apps too!
When it comes to the final look, there’s no wrong way to get there. Everyone has their own aesthetic, so play around and find a look that’s right for you!
Digital Storage:
The last piece of essential gear you will want is a way to back up all of your hard work! I am ultra-paranoid about losing all of my photos and digital files, so I have multiple ways I back things up.
I use a mixture of iCloud storage, Google Docs, Dropbox, and external hard drives to save everything and have multiple copies in case something goes wrong.
Whatever method you choose, have a backup for your backup!
Related Article: 10 Tips for Working at Home From A Freelancer

Photo shot on iPhone using remote shutter release
Photography Tips & Tricks
Ok now that you’ve got all the gear you need, it’s time to actually get out and shoot! You don’t need to be a professional photographer to take a nice photo, but it is helpful to have a basic understanding.
Lighting:
Lighting is everything when it comes to photography. It sets the mood, effects the color, and can make or break you! Natural, even light will always look the best, which is why most photographers love early morning and golden-hour photoshoots. Shooting at high-noon is totally possible, but just know the shadows can be really harsh and you’ll just have to get creative to work around them
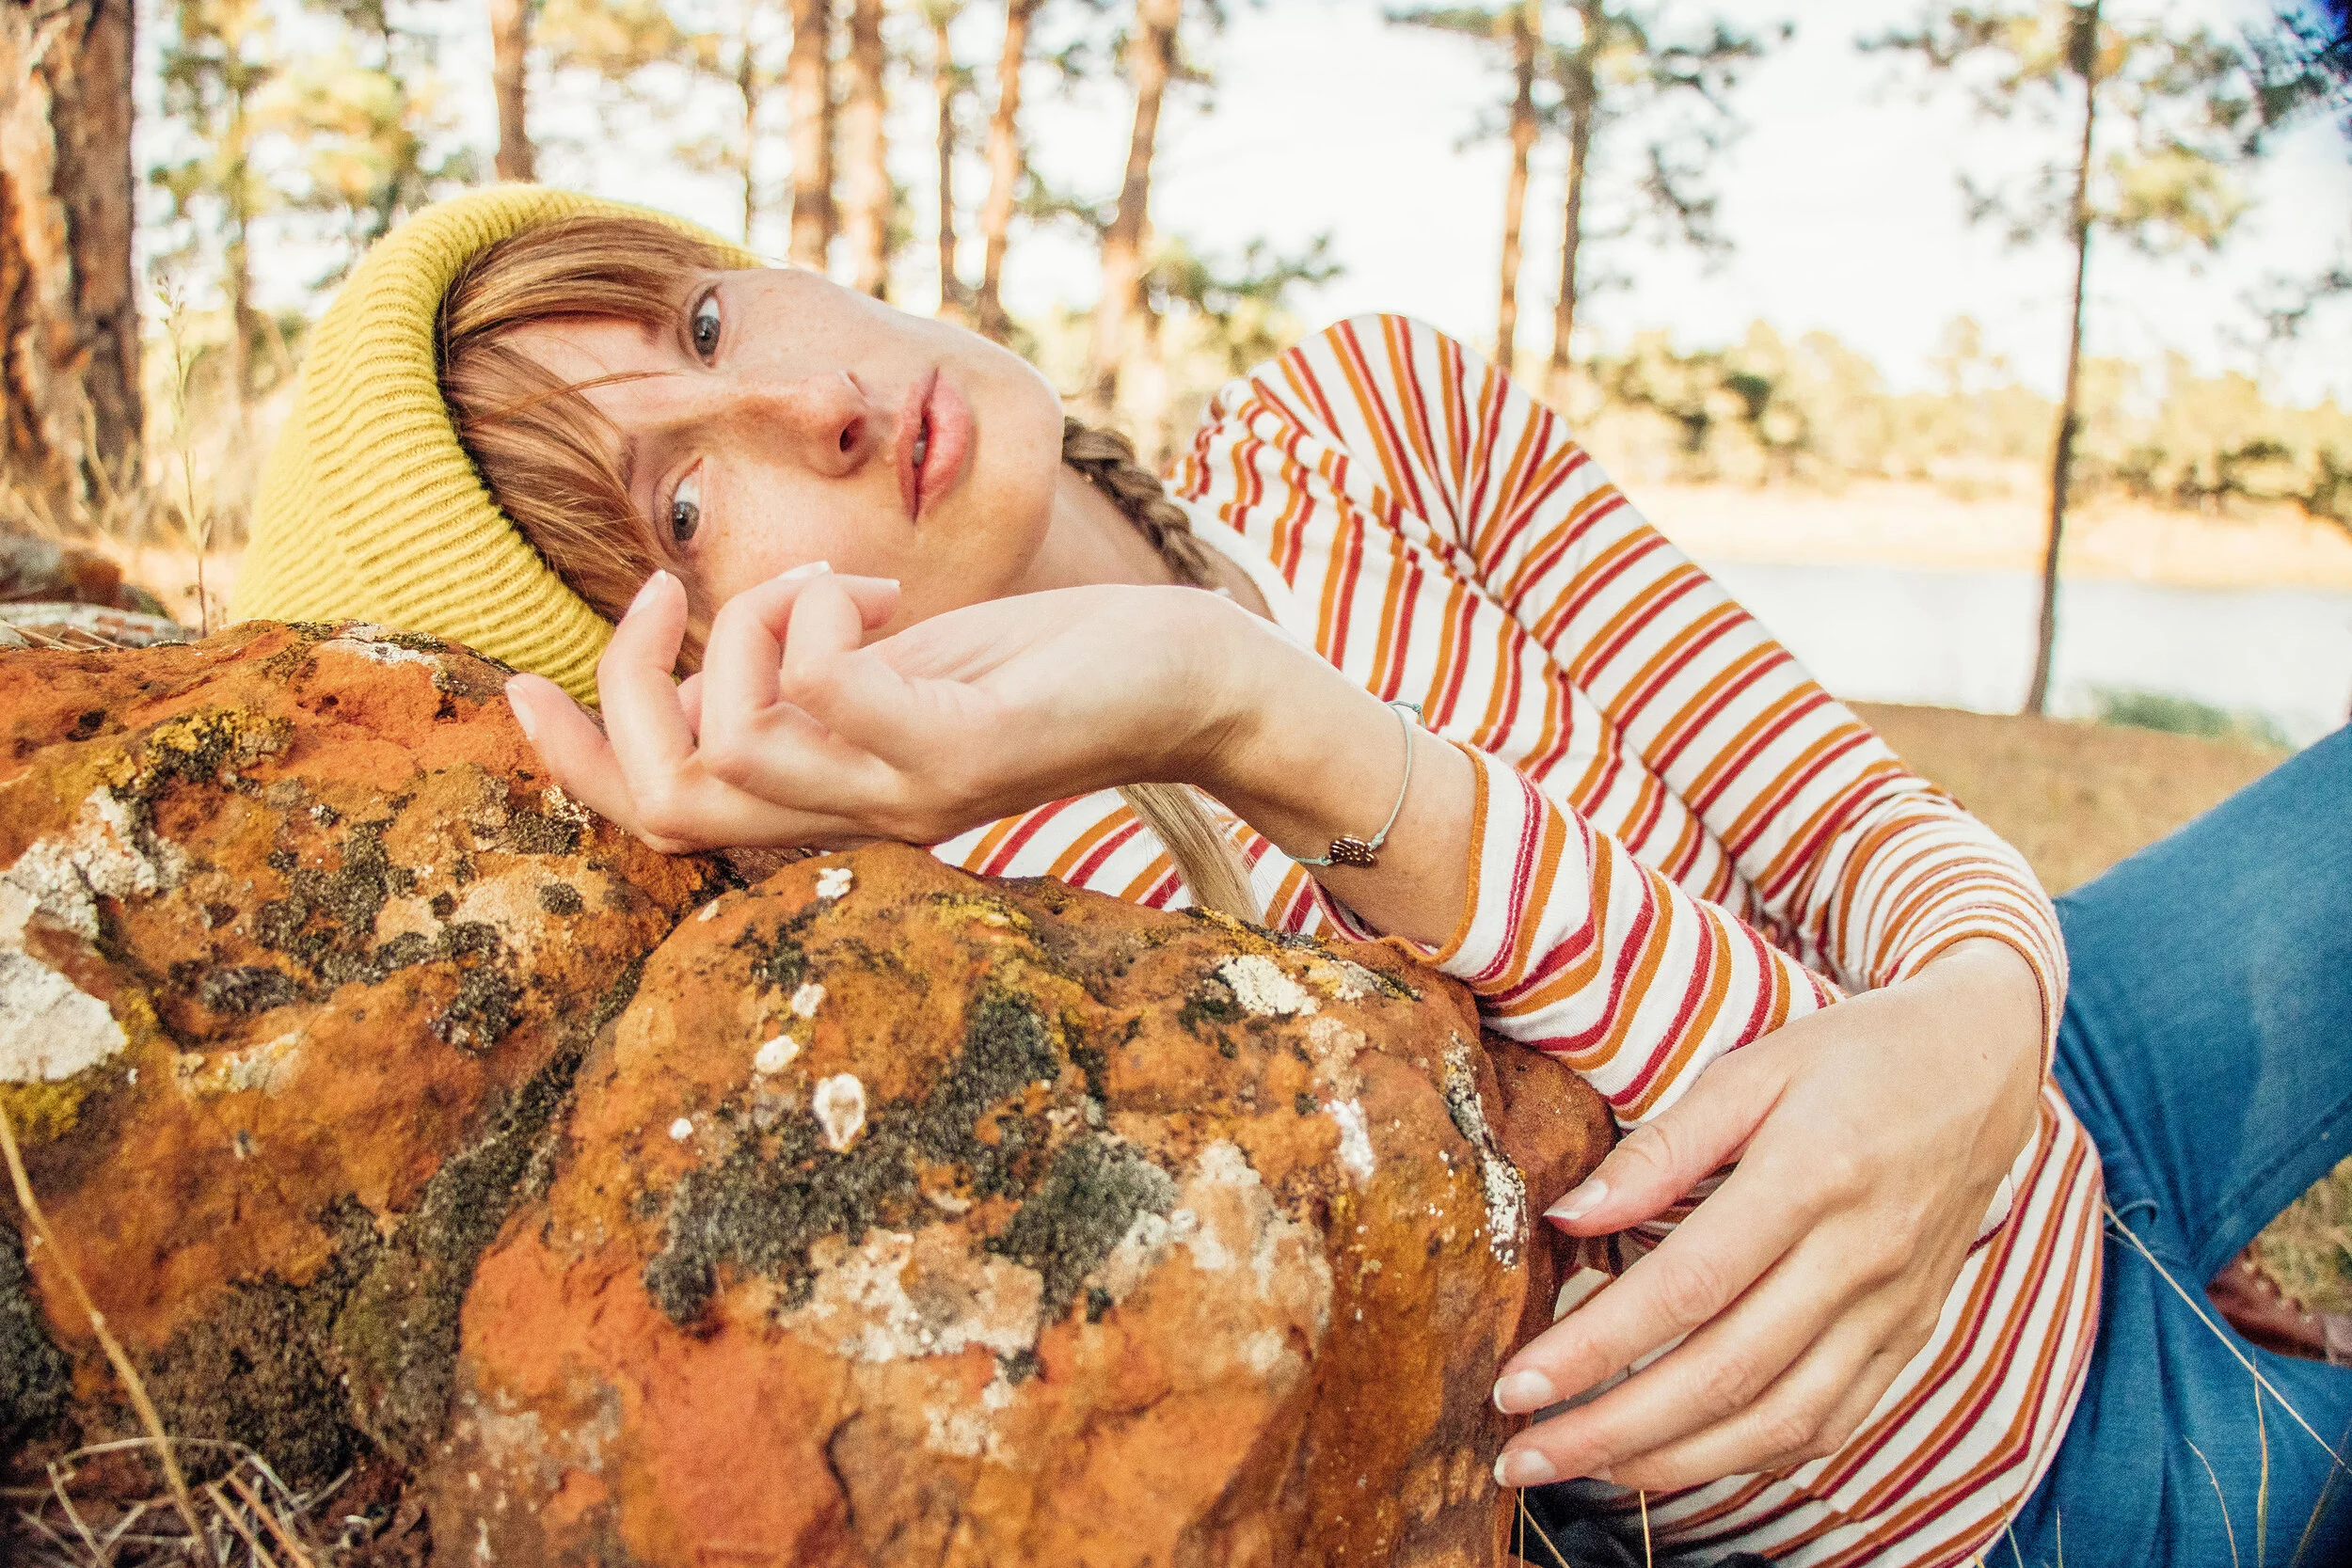
Photo shot in even natural light

Photo shot in harsh lighting
For the best result, you’ll always want the subject matter (in this case, you!) to be facing the light source. If the sun is behind you, you will be in silhouette. This isn’t necessarily a deal-breaker depending on the photo you’re going for, but just something to keep in mind.

Photo shot with sun behind subject
Rule of Thirds:
You’ve probably heard the phrase “rule of thirds” before. Basically it means the composition of a photo or painting looks more dynamic if the subject takes up space in one or two-thirds of the entire frame.
Click here for a more detailed explanation.
Examples of using the Rule of Thirds
Foreground / Background
In the simplest terms, the foreground is whatever is closest to the viewer and the background is the furthest from the viewer. Your photos will be more dynamic when there is some juxtaposition between foreground and background, either through spacial relationships or focus shifts.

Be aware when you’re shooting what’s the closest thing to the lens and what’s behind you / in the background. Often times when I’m somewhere crowded I will just wait until the background is mostly clear to snap a photo.
The iPhone does it’s best when faking a shallow depth of field on portrait mode, but it can be tricky to make it look really good. I’ve noticed that sometimes there is a weird edge where the fake blur looks really digital. iPhone photos also have a tendency to look really flat, so playing around with foreground/background can help take them up a notch.

Playing with Foreground / Background using an iPhone
Posing:
There are so many amazing resources on how to pose in front of the camera! It truly is an art form in it of itself, and you don’t have to be a model to “work it.” If you’ve literally never tried any kind of different posing for the camera, I would say first practice in front of the mirror. It may seem silly but it’ll give you a better idea of how certain things will look like in-camera. Find inspiration from other bloggers that you love and practice recreating some of their poses. After a while, it will just feel like muscle memory so when you do step in front of the camera you’re good to go!
The second piece of advice I have is to keep your body loose and relaxed. If you feel stiff and awkward posing, it will read that way in the final shot. Just by relaxing your shoulders and softening your face, you can make a huge impact.


Try different angles, both with your body and how you set up the camera. By placing the camera low to the ground, you will automatically look a lot taller! Creating triangles with your body creates interesting negative space and breathes life into your photos.
If you have time and you’re in a relatively open spot, try moving around as you shoot. You can dance, jump, leap, throw a hair toss, do a little twirl, have fun with it! Don’t be embarrassed to try something new! It’s a lot easier to get out of your comfort zone when no one is watching, which is one benefit to photographing yourself. If all else fails, fake it ‘til you make it!


Setting Up the Shot:
Setting up to take photos of yourself by yourself can take a few minutes depending on if you plan to use a tripod or not. Getting out the tripod, attaching the camera and getting everything level can take a bit of finagling, but is usually worth it in the end.
If I am just precariously balancing my phone on top of my purse or up against a tree, it can take just a few seconds, which is great when you’re in a busy spot or in a rush.

My camera is set up on the curb opposite of me
When I go out specifically to take photos, I usually have a plan in place of where I’m going to shoot, what type of photos I want to take, what I plan to wear, etc. Other times, I’ll stumble across something I wasn’t expecting and do my best to frame up the shot in the moment.
Because I love exploring and checking out new places, more often than not the type of shooting I’m doing is the later - unplanned and spur of the moment. If I’m a little haggard that day with unwashed hair and/or not wearing any makeup, I change things up by taking photos where I’m either facing away from the camera, or I’ll throw on a hat and some sunglasses. Or maybe I’ll stand further in the background so that it becomes more of an atmospheric shot, and it’ll be less noticeable just how much of a dirtbag I am that day. The more you go out to take photos, the more comfortable you’ll get doing it. Find what works for you and just have fun!

After a week of camping, I have my hair in braids and face away from the camera
Taking Photos in Public:
I’m not going to lie, this can be really tough by yourself. If I’m somewhere really crowded, I’ll usually skip trying to get any dynamic poses and opt for a classic selfie or ask someone if they’re willing to take my photo quick.

In a crowded tourist destination, it’s easier to just ask someone to take your photo. I always offer to do the same for them in return.
It’s important to be aware of your surroundings and you don’t want to be annoying by being in the way of others, holding up traffic, or taking too long at a hot photo spot. And you definitely don’t want to run the risk of your gear getting stolen or damaged!
If you want to get a photo at a popular destination, get there early or go in the off-season when it’s less crowded. If it is really crowded, give yourself time and be patient. You may get a lucky moment when no one else is in the shot!

Traveling during the off-season is a great way to get a photo at a popular spot
And sometimes it’s just not possible to get a photo of yourself, and that’s OK! Instead, you can take some really great atmospheric photos, or maybe you can get the-oh-so popular, here’s my hand holding this fabulous drink type of shot. You can always still opt for the classic selfie. Creative problems usually result in creative solutions.

At a popular ice cream place, I opted for a hand photo instead of trying a selfie

Using my body & backpack to block other tourists out of the shot as much as possible

Turn and face away from the crowd
There you have it! All of my “secrets” when it comes to shooting myself by myself. Really it boils down to having a couple of items and a willingness to just go out and have fun, even if you’re alone!
Have any other tips and tricks I may have missed? Leave a comment below!

Pin It!
Liked this post? Pin it and save it for later!